Neanderthal Tools
Intro
This year I attained my Master’s degree in Medialogy. For the final project, me and my colleague Frederik Stief have decided to investigate learning aspects in VR without using text or speech. During the project, we collaborated with COST Action (CA19141) representatives and expert archeologists from University of Zagreb when designing the simulation.
This post will focus only on key technical aspects of the project. If you’re just interested in the end result and source code, see Neanderthal Tools (we couldn’t come up with a good name).
Unity tooling for VR
This time we utilized an official package - Unity XR Interaction Toolkit. So far this is the best solution I have used in Unity for interfacing and working with VR headsets. The components are well-designed, documented and extensible. The best part is that they work really well with the new Input System Unity provides.
However, during development we faced some challenges when deploying for different VR headsets, where we had to utilize the OpenXR Plugin. For the majority of the time, we had no issues with Oculus Rift S or Oculus Quest headsets. Though building for SteamVR (we also targeted HTC Vive) posed a lot of problems. The virtual hands would be offset differently for each headset, input bindings would not work or weird overlay textures would appear.
We resolved some of these problems by installing Beta versions of the Oculus and SteamVR runtimes. Yet to fully fix them, we had to create two different builds for each runtime. As it stands now, the plugin is not yet ready for production when targeting multiple vendors. If you encounter some of these issues, Unity support for OpenXR in preview thread might provide helpful solutions.
Loading multiple scenes at once
When working with VR (and in general any game) in Unity an essential feature is smoothly transitioning between scenes. Simply loading a scene via SceneManager.LoadScene after fading out the screen introduces a noticeable stutter which in some cases can prompt the VR runtime to display a loading overlay which ruins the gameplay experience. The usual approach for this is to utilise SceneManager.LoadSceneAsync with LoadSceneMode.Additive in addition to always keeping one scene open which acts as an intermediate scene for storing the VR components.
For this project we followed a similar approach to the one used in
Gneiss, where we always keep one scene open for storing various gameplay systems. This time however, we utilised Multi-Scene editing feature which made the experience of editing two scenes at the same time a lot smoother. The only challenge was to make sure that each time after opening a .scene asset the appropriate scenes would load. To solve this we utilised InitializeOnLoad and OnOpenAsset attributes to hook into Unity’s callbacks. You can see this in action in
SceneBootstrapLoader.cs.
We also wanted to ensure that after hitting play the scenes would activate in the correct order. To do so, we use EditorSceneManager.RestoreSceneManagerSetup as seen in
SceneBootstrapLoader.cs. Then, we iterate all loaded scenes one by one and activate them. See Start method in
SceneLoader.cs for an example.
The multi scene setup has been an essential part of my workflow after using it in Gneiss and this project. For future projects I might create a small package to avoid having to set up the boilerplate each time as this is an extremely useful tool which helps to separate concerns.
Fading the screen in and out
To fade the screen in and out when transitioning between scenes there are two approaches that I’m aware of: use a post-processing effect to blit the screen; use an overlay UI. Since we were short on time, we took the latter approach as it enables easy customization the fade screen (e.g., you can easily add UI elements such as images).
To achieve this we utilized the Camera Stacking feature, which allows to combine the output of multiple cameras. One camera draws the game view while the other draws the UI, which hosts a white full-screen image used to cover the users view. The configuration process is straight forward, however one thing that was odd is the massive performance hit.
When setting up a Camera Stack, an important option to properly configure is the Culling Mask flag or otherwise the engine renders the scene as many times as there are cameras in the stack. Yet even after correctly specifying this option in our project we were still haunted by a massive performance hit.
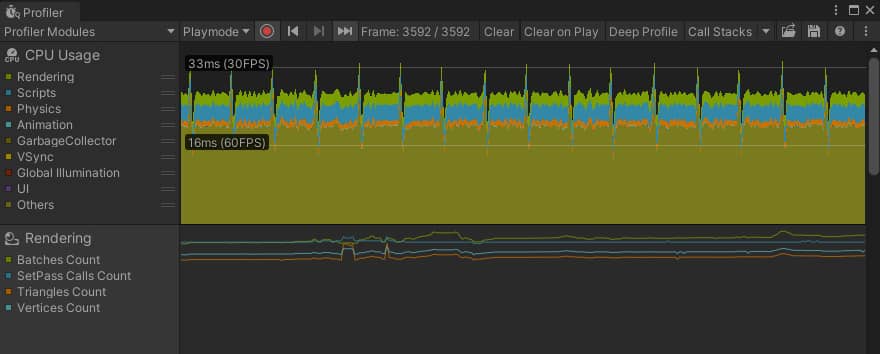
After playing around with camera settings and looking into the Frame Debugger, we found that creating a new Renderer asset which targets only the UI layer and nothing else solves the issue. We also made sure that this Renderer is used only by the UI camera.

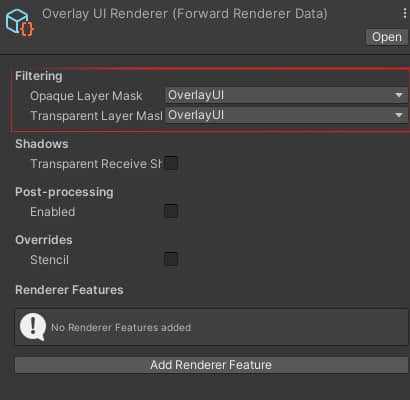
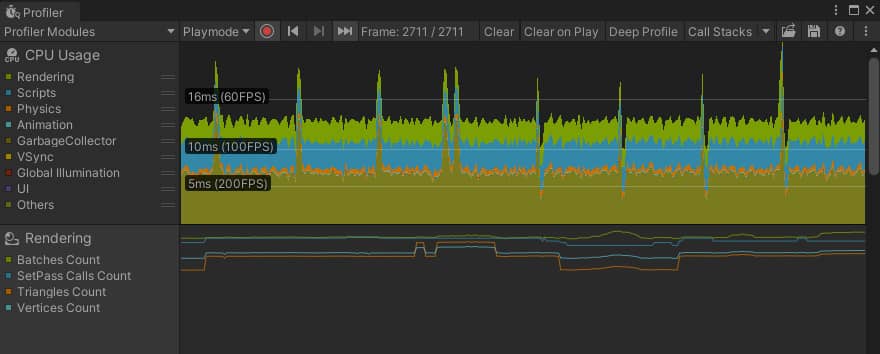
We only spotted this at the end of development as we always thought that the performance penalty was due to running the project from within the editor. Only after taking a look into the Frame Debugger we were able to see that the second camera was doing more work than it’s supposed to. Talk about an expensive fade screen.
Designing realistic audio
Each interaction in the project has audio feedback. We decided that each object should sound as realistic as possible. For this we went out and recorded actual audio samples of flint, wood and stone. Special thanks to Rokas Sutkus for helping with audio recording and post-processing! You can also find the recorded samples here and use them in your projects.
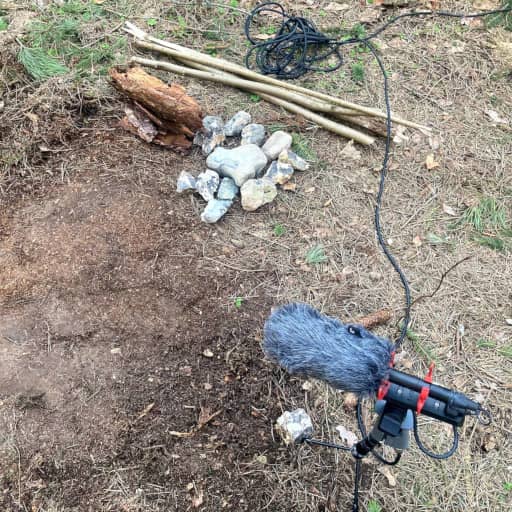
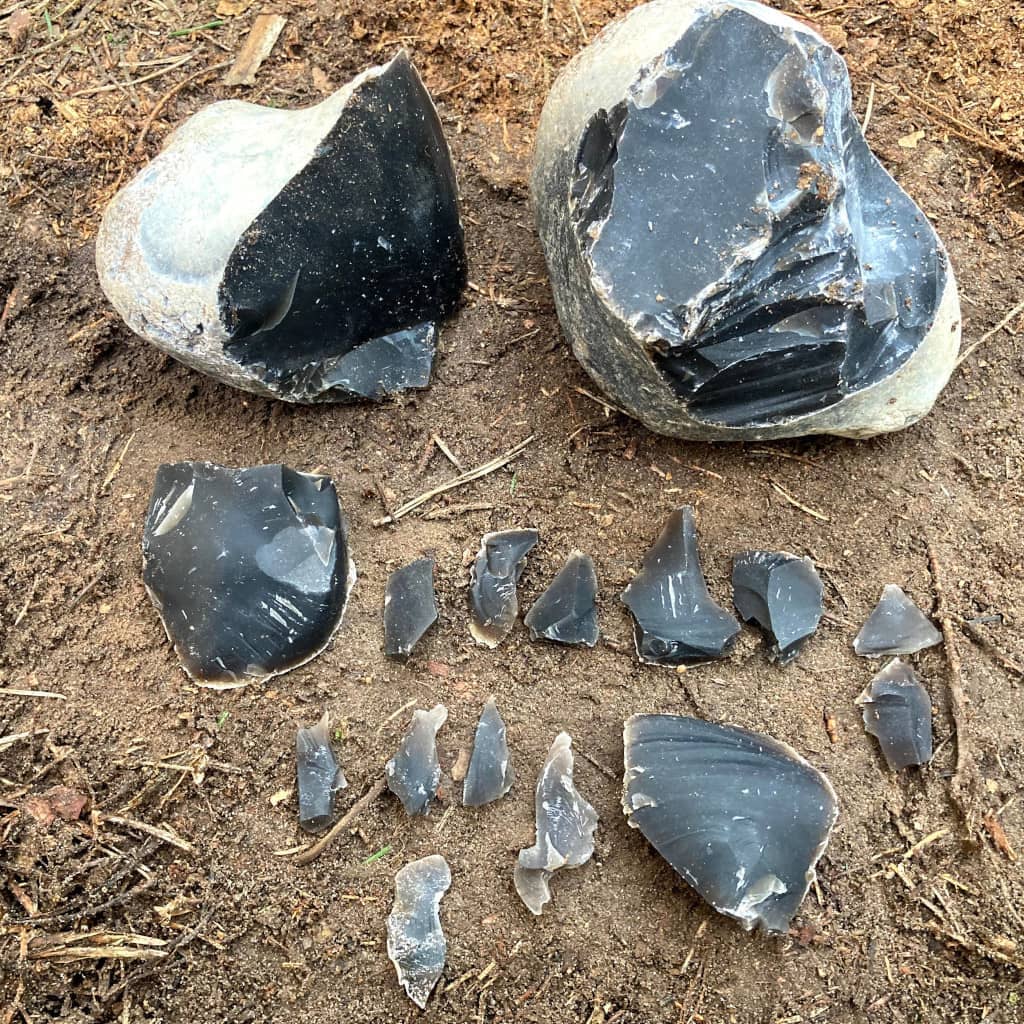
Having realistic audio samples greatly increased the immersion and enjoyment, both of us were quite amazed by how the weight of each action changes. Still, just by using the samples without any runtime modifications sounded plain. To solve this and increase realism even more when executing an action, we group the samples into pools, where each call to a pool provides a random sample. After picking a sample we adjust the attenuation and pitch based on the applied force during the action. This is a rather simple process, however the results are juicy. You can check out the scripts used to achieve this here.
Moving virtual hands
Most VR games I’ve tried usually move the virtual hands by ignoring the environment. That is, the hands pass through walls and objects, except when executing actions (e.g., grabbing an object). While this approach provides great accuracy, it has quite a few downsides, the major ones being: the ability to push grabbed objects through walls; hands don’t push physics objects.
To workaround this and increase realism, we modeled the hands as physical objects which are moved by using physics. We followed a great tutorial by VR with Andrew, where they move the hands by applying linear and angular velocities in order to drive them towards the target destination (orientation of the controllers). You can also checkout our modified PhysicsHand.cs script as well.
However, this approach has its own flaws. For example, when holding an object if the user were to push the object into a wall, it would jump around uncontrollably. We’ve tried tinkering with applying a varying amount of force based on the resisting collision force, however that introduced oscillations. Additionally, we tried messing around with various Joint setups for grabbing objects, however the results were not satisfying as we couldn’t find the right values to avoid the aforementioned issues. Though compared to my previous prototypes, this is a major step in the right direction.
For future projects I’ll experiment more with Joints and will try to test different approaches with parenting. The challenge here though is that such tests will most likely require a completely custom grabbing system. At the moment, Unity XR Interaction Toolkit scripts are a bit difficult to work with for such an approach as most of their existing functionality has to be thrown out.
Animating via VR motion capture software
The major constraint of the project was to avoid using text or speech. To work around this we decided to utilise animations, particles and audio cues to guide the users. The particle systems and audio cues were rather simple to work with, however for animations we wanted to have a guide character which would show the actions the user has to perform, which introduced quite a lot of complexity.
To quickly implement animations, we looked into motion capture software as we wanted to use our VR headsets and controllers as motion capture devices, and handle the rest with Inverse Kinematics (IK). We landed on experimenting with the Beta version of Mocap Fusion [ VR ] which had everything we needed, including IK. We quickly recorded some simple animations and later post-processed them in Blender to make them loopable. The result was surprisingly good - well at least better than anything we could animate by hand.
Closing notes
So far this was the most difficult VR project I’ve worked on as it involved a lot of tweaking and designing based on research. However, the tooling choice this time around was right as it was always clear on what is happening under the hood of Unity XR. For future projects I’ll definitely utilise Unity XR even more and hopefully the Open XR plugin improves as well to make deployment a bit easier.