Sandstone - part 3
Intro
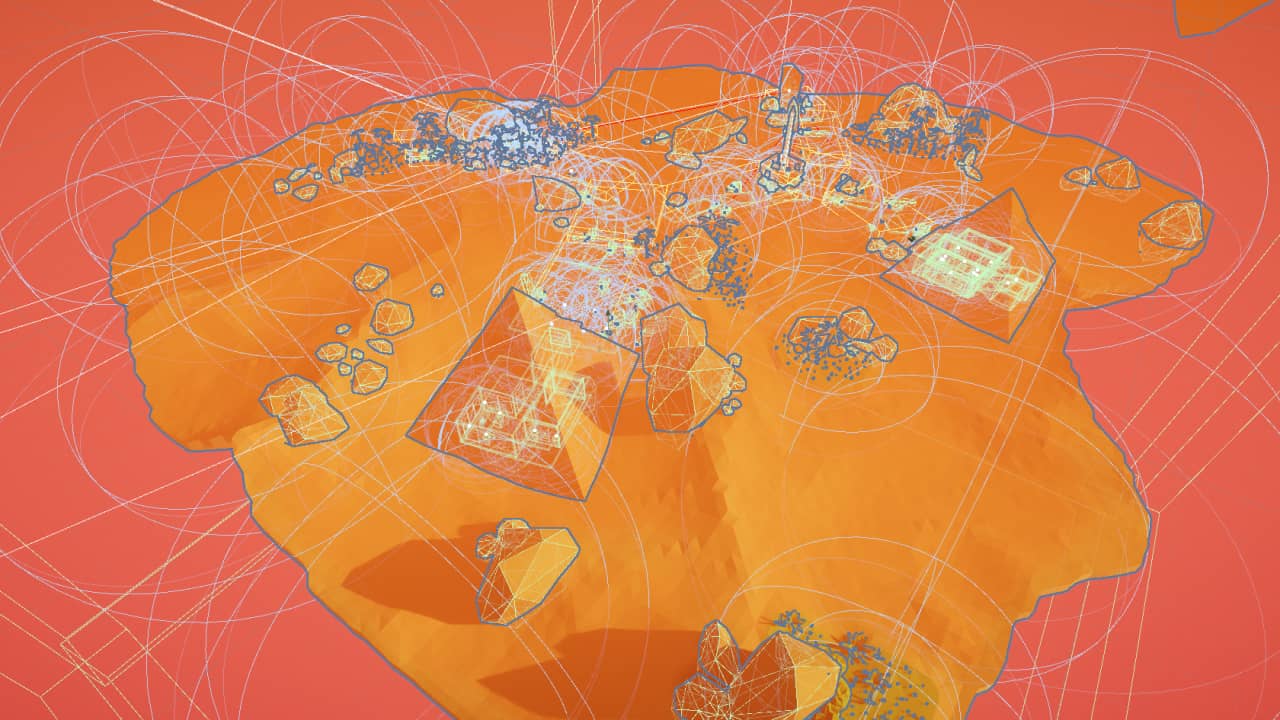
The last post about my first experiences developing a VR game in Unity called Sandstone. In this post I focus on baked and real-time lighting issues that I’ve encountered. Also, be sure to checkout part 2 if you haven’t already.
Baking lighting
I spent a lot of time trying to get lighting right. Using real-time lighting I was having difficulties illuminating darker areas, and the end result was always bland, thus I decided to use real-time lights in combination with baked global illumination.
Unity currently provides a GPU based light-mapping solution called Progressive Lightmapper, which is rather fast. However, due to having a large environment I quickly ran into multiple issues.
Long baking times
First issue was that baking would never finish, the editor reported that it would take 10+ hours. To fix this, I had to reduce the Scale in Lightmap value under Mesh Renderer component for large objects. For example the scale value for the terrain I used is 0.1. This greatly reduced the baking duration to around 8 minutes (using RTX 2060) for the main scene.
Artifacts
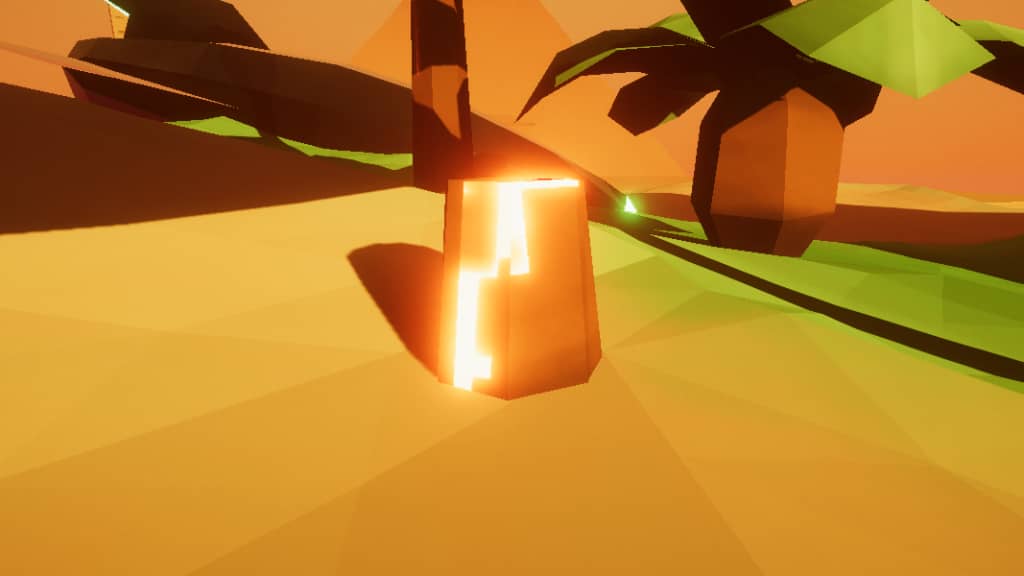
Using a lower scale introduced a lot of artifacts. For example some objects such as rocks would be baked incorrectly and their edges would either glow extremely brightly or be too dark while in direct sunlight. The root cause was that Backface Tolerance was set to a high value under Lightmap Parameters. I’ve experimented with multiple values for this setting, however in the end I had to use a value of 0 to eliminate most of the artifacts. This also increased the baking time a bit.
Overlapping UVs
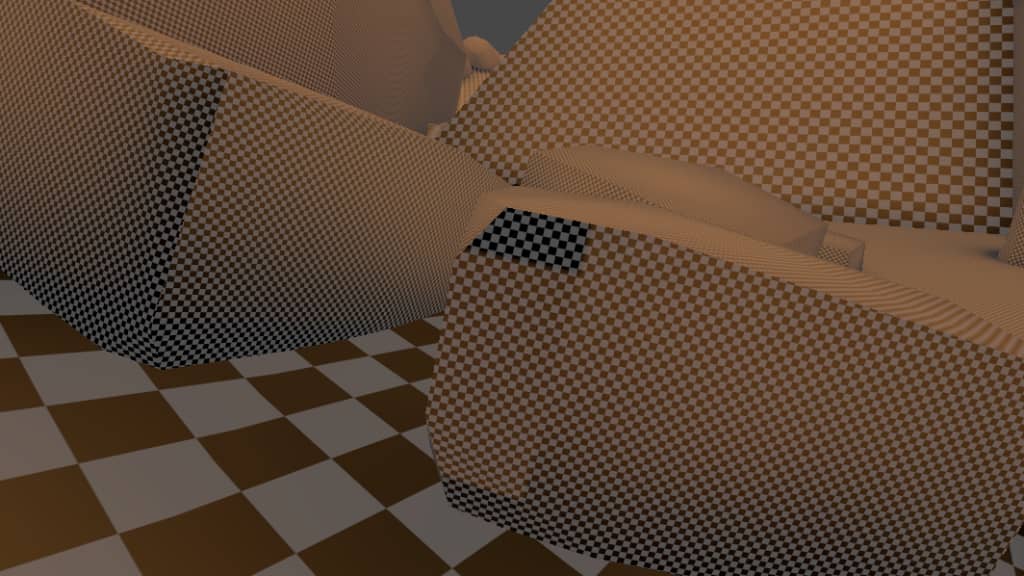
Most of the models were custom-made in Blender. Since I’m terrible at modeling, I stuck to a minimalistic low-poly style. The hardest part in modeling for me was UV mapping. Due to this, I mostly used Smart UV Project functionality which generates a UV map automatically. This was fine until I started baking lighting and had already made half of the models. Having improper UV maps causes UV map overlapping which creates dark areas around the edges of objects.
Unity is able to Generate Lightmap UVs automatically via model import settings. There are a bunch of settings that you can tweak in order to get them to generate correctly. However, I could not get any combination of these settings to work. I’ve tried manually creating UVs for some models with a large island margin, which yielded good results. The takeaway here is - spend more time in tweaking and creating the UVs by hand to avoid overlapping UVs.
Real-time lighting
Using real-time lighting was a must for this project as the player is able to pick up objects which emit light. The biggest problem here was getting the shadows to work right.
Shadow quality
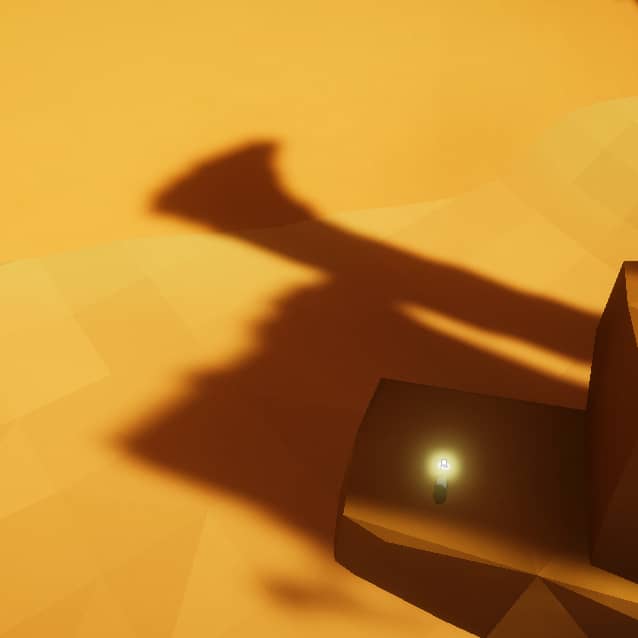
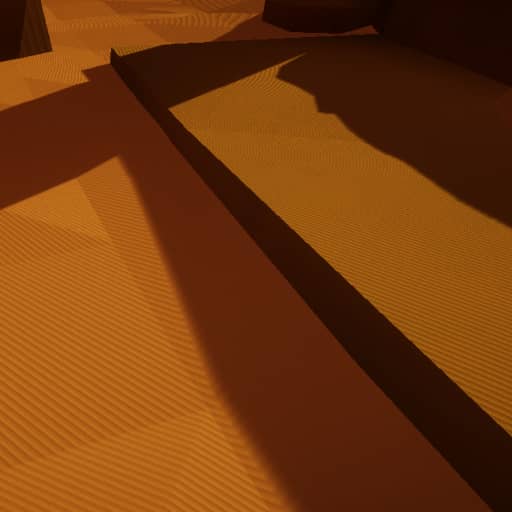
Shadow quality was a major pain to get right. The biggest issue initially was rough and pixelated shadows. I was able to resolve this by enabling Soft Shadows and using Four Cascades.
Another issue was having stripes over the shadows. This one was easy to resolve by playing around with shadow Depth Bias and Normal Bias settings. Although this added a barely visible offset to each shadow.
Leaky shadows
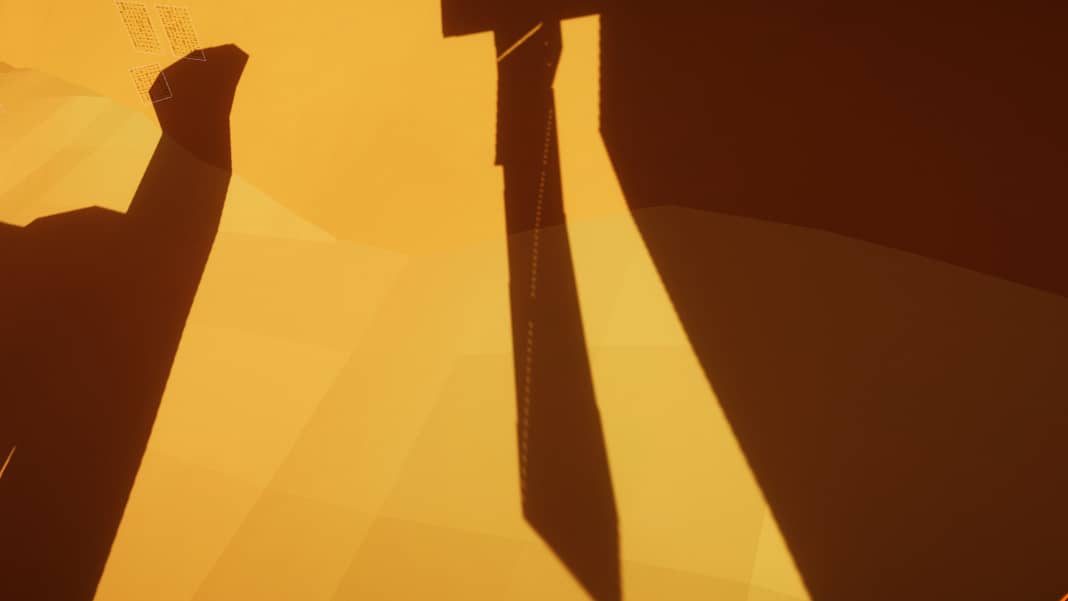
Since I was trying to follow a low-poly aesthetic, I found that simply using no smoothing groups on the models yields nice results. Even so, using this approach causes gaps in between the faces when they’re lit by real-time lights. In order to fix this, I edited each model to use smoothing groups in Blender and instead used a shader to achieve the low-poly aesthetic.
Dynamic objects
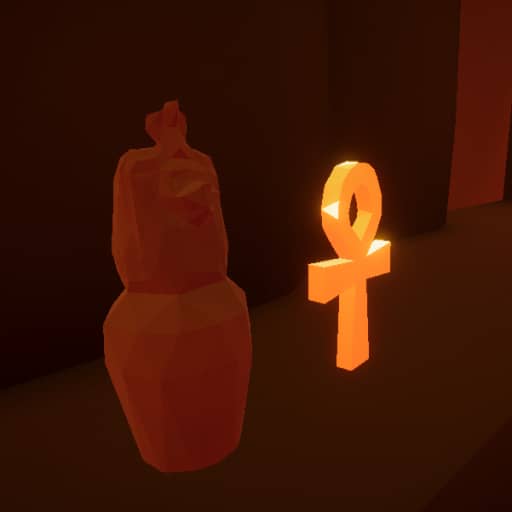
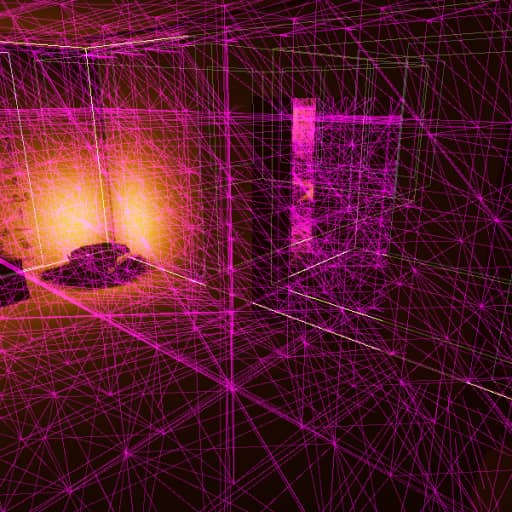
After fixing all the baked lighting and shadow quality issues I noticed that some objects are too bright in while staying in shadows. This was due to not using Light Probes - when mixing baked and real-time lighting, dynamic objects require additional information in order to be lit correctly.
Setting up Light Probes in Unity is painful, to reduce this pain I’ve used the Simple Light Probe Placer asset. It was still quite messy even when using the asset as I had to go and tweak each Light Probe Group manually so none of the probes protrude the terrain, however this sped up the whole process immensely.
Closing notes
When making custom models they can’t be rushed. It’s important to ensure that the mesh and UV maps are setup correctly. In addition to that, it is better to create a custom shader when going for a specific aesthetic rather than hard coding information into the mesh itself.
Using baked lighting can add a lot of detail to the game. Though I’m quite surprised how many hoops have to be skipped in order to get it to work correctly. Thinking a bit about the old days of Source SDK baking lighting really hasn’t changed much. In future projects I’ll try to avoid having to bake lighting.
That’s it for Sandstone. I’ll try to apply on what I’ve learned here on future projects and hopefully will write more posts about my progress.